Tutorial: Stamping Soap with a Custom Soap Stamp from LaserCutz

One of the major challenges I faced when I started offering a package-free option for my soap was retaining brand identity, and that was easily solved with a custom soap stamp. With a custom soap stamp, I could stamp my cold process soap with my logo and not worry about any extra materials.
There are a large number of options for custom soap stamps out there, and it took me over a month to find one that would work. Why? Many of the stamp making companies told me that because my text logo contained so many fine intricate lines that it would be impossible to get a clear stamp without thickening the lines.
Then I found LaserCutz, thanks to a recommendation from a fellow soaper. I sent an email to Dave at LaserCutz to inquire what he thought of my logo and if it would work. Within 24 hours, he got back to me and said he'd love to give it a shot. I had my order placed and paid for within the next 24 hours, and a shipping notice in hand a day later. Talk about a speedy turnaround! Plus, LaserCutz's custom soap stamps are extremely affordable in comparison to other options I looked at!

I was worried it would take a bit for my stamp to get here since LaserCutz is in the UK, and we're right here smack dab in the middle of the US. However, less then a week later, I had my stamp in hand. Heck, I had my custom soap stamp from Dave before I even made it to the hardware store to buy a rubber mallet!
Once I gave stamping a shot on freshly sliced bar of cold process soap, I fell in love instantly. It was the perfect touch to my soaps, giving me the ability to keep my branding consistent, and begin offering the eco-friendly option of ditching packaging on retail orders. My customers love being able to ditch the packaging, both for environmental reasons and for cost reasons. I love keeping my company's image consistent without a huge investment of time or money.
One thing I hear from many soapmakers is that they have trouble getting a clean impression with soap stamps, so here's a mini-tutorial with some tips and tricks to how I get a nice clean imprint when I'm stamping soap.
Stamping Soap with a Custom Soap Stamp

The very first thing I do is lay out a huge grid of my soaps so I can stamp each soap in quick succession. I always stamp my soap immediately after cutting it, however, I use a high hard to soft oil ratio in my formula and discount my water by a significant amount. If I want to stamp a soap that does not have a water discount or has more soft oils, I wait 8 to 12 hours before stamping. For castile, I wait a couple of days after unmolding.
After centering the stamp on the soap, I apply even pressure on both sides (left and right) of the stamp, and give the stamp a good clean smack with a rubber mallet. Sometimes, I don't hit it hard enough and will do it again BEFORE moving the stamp off the face of the bar. I find I get an even impression by holding both sides of the stamp secure.

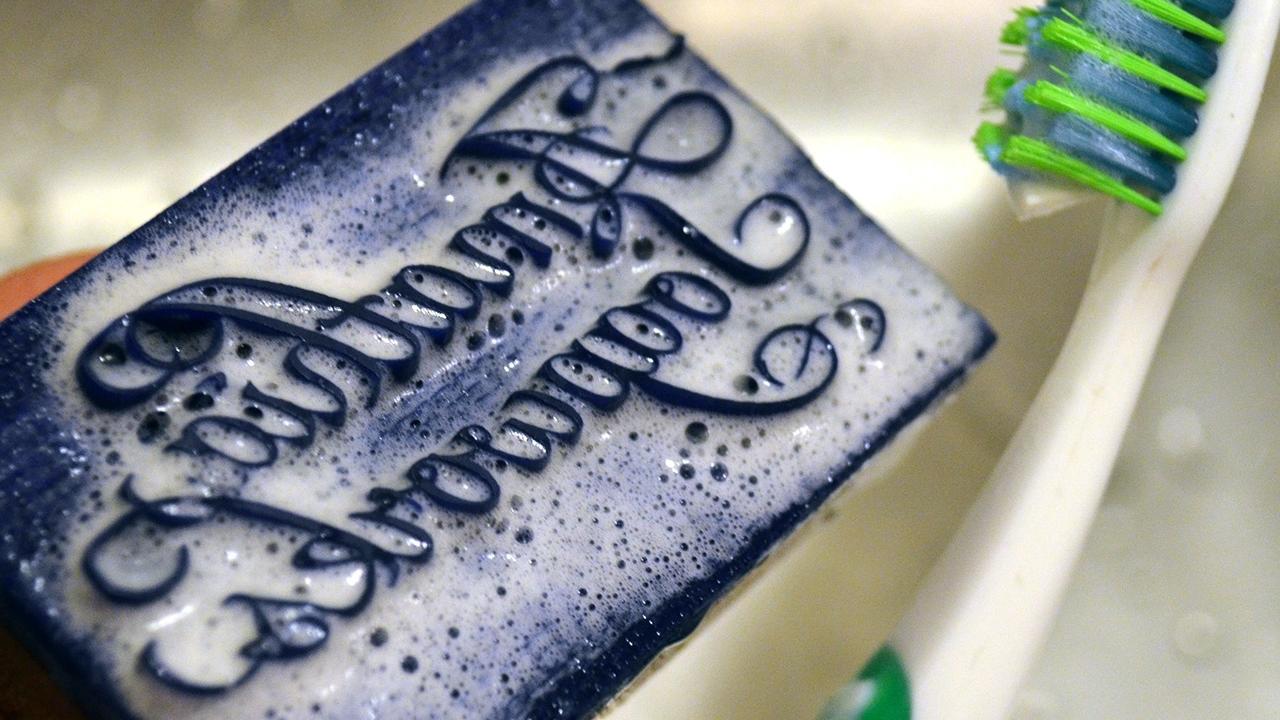
If the impression isn't crisp, I immediately stop stamping and clean my soap stamp. The best way I have found to do this is with warm water and a firm toothbrush. The toothbrush bristles can get into all the little crevices of the stamp, and since any residue is soap itself, you just need water!
If the soap is lifting up with the stamp, try using a piece of plastic wrap over the soap/under the stamp or wait longer after cutting to stamp. Every formula has an ideal time frame for stamping, and that's definitely a factor of trial and error!
A fun trick with soap stamps is dusting them with shimmery mica before stamping, which transfers the mica to the soap and colors the impression with sparkle-filled color. I find this too time-consuming for everyday soaps, but it really adds a nice pop to special soaps!
Are there any tips or tricks you have to share for using custom soap stamps?
Want to snag weekly advice on building a successful soap biz directly in your inbox?
Of course you do! Sign up for our newsletter below for more tips and tricks to make bank in your biz.

